A sandpaper roll is very easy to use. You can either use it wrapped around a sanding block — a small device that you use to hold the sandpaper — or just with your hand. Depending on how coarse or fine the grain is, you can remove a lot of material quickly or gently smooth out rough areas. The trick is to use a rough grit sandpaper first so that you can smoothen out bigger bumps and distress. Then you can use a finer sandpaper that will leave everything super smooth.
There is no need to explain that if you are working on a wood project, a smooth surface is very important. That smoothness is useful in particular if you intend to stain the wood, paint it or just have it look nice. Using a rolled sandpaper can help smooth out surfaces better than any paints can get. Ensure that you move on to progressively fine sandpaper after/other than that rough sandpaper, for the best finish possible. Sanding in the direction of the wood grain should always be remembered. This will yield the best results and visually present your project well.
Definitely, when you are preparing to paint, it is a very good idea to use a sandpaper roll to sand the surface. It makes it easier for the paint to adhere, which means that your paint job will look smoother and last longer. Also, if you sand in between layers of paint, it will remove any flaws or bumps and leave you with a perfect finish that you will be proud of.
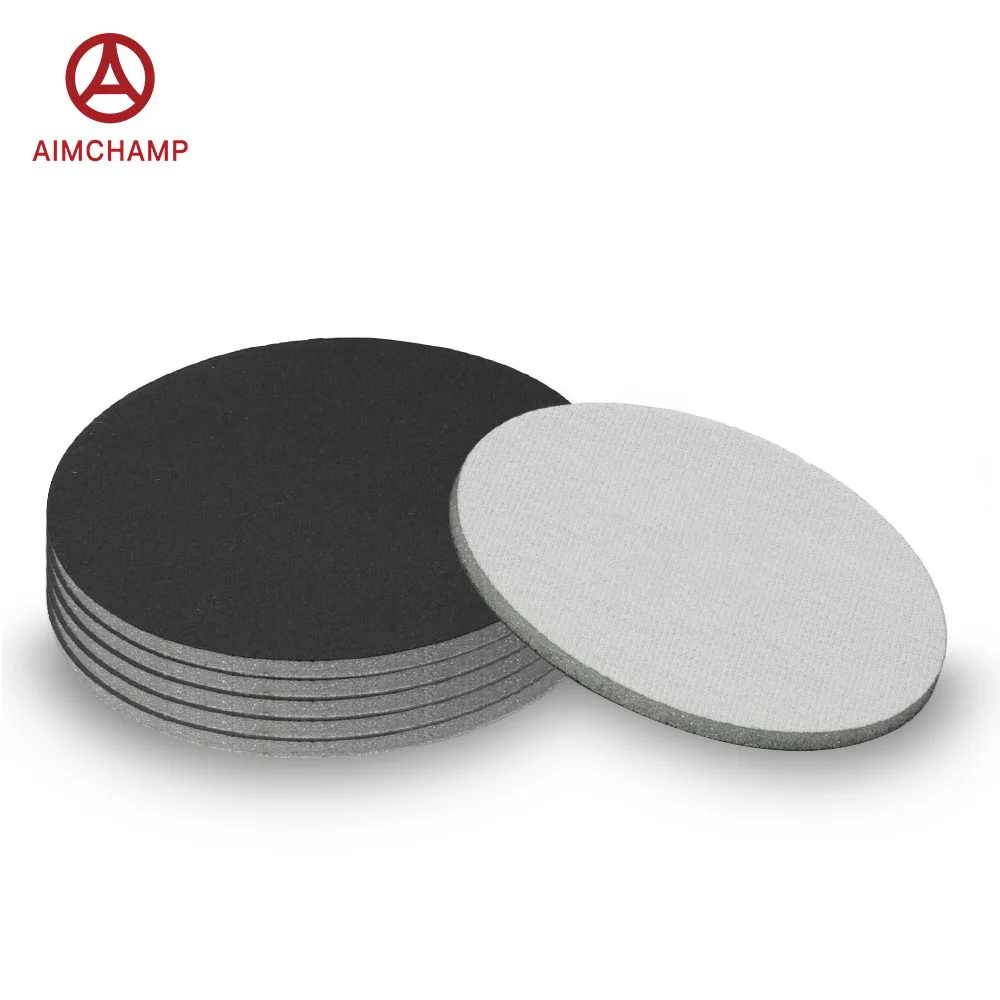
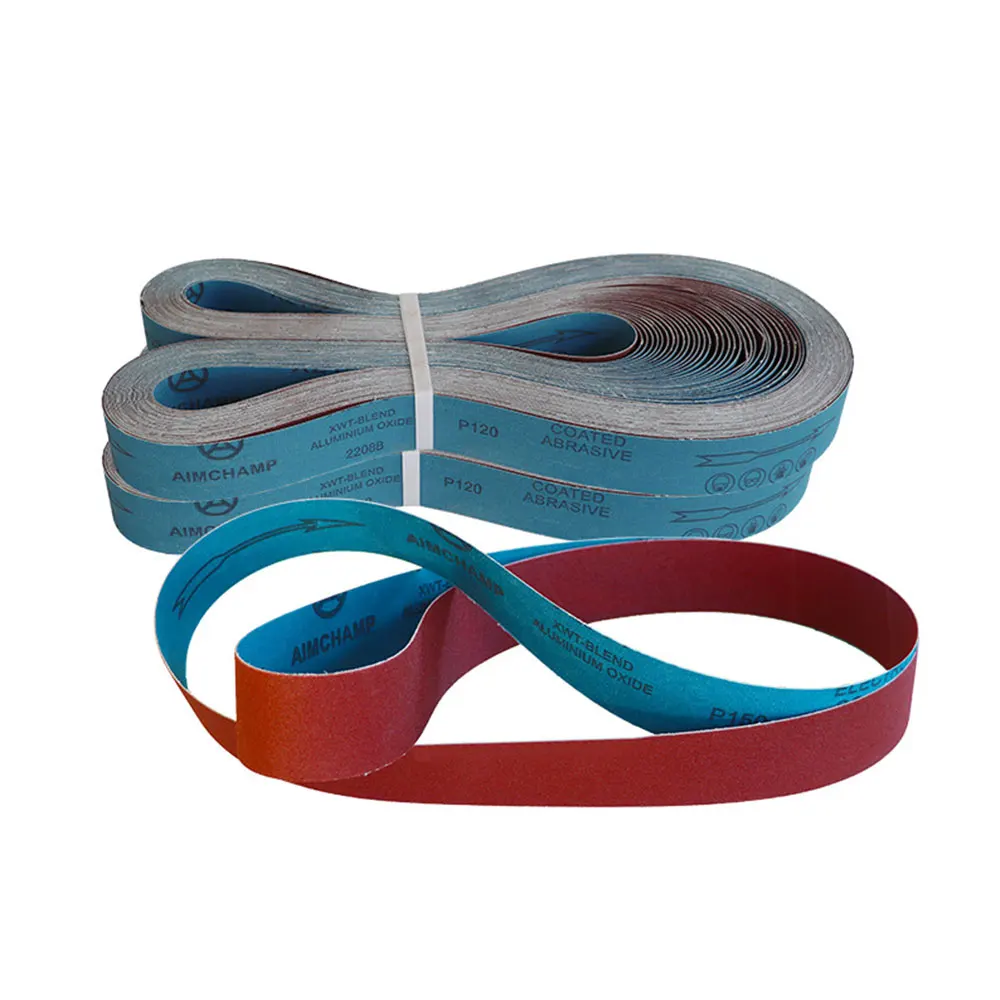
This tool is important for both woodworking and painting. If you are doing a woodworking project, especially using a emery cloth roll to sand off old finishes or rough spots will make it look brand new. Sandpaper roll can also be used to sand and polish harder surfaces on wooden furniture. 10 Commercially available sandpaper rolls can be used to smooth over painted surfaces covered with bumps or marks, so the spots have no chance to jump on the surface.
There is a lot more to getting a good finish on your projects than meets the eye and it can take time and effort. But you can use a sanding roll to help you achieve a perfect finish, commonly found in pro-graded projects. To ensure a professional finish it should always start from a high rough grit sand paper. And then work your way up to finer grits, gradually. This way you can verify that you have removed all the bumps and that the surface it is nice and smooth.
For example, if working with wood, then begin with a coarse grit sandpaper to remove bumps or imperfections. As soon as you notice the surface improving, you switch to finer sandpaper. This will assist with making sure the surface is absolutely sleek. Don’t forget to sand between coats on paint jobs to get rid of any brush strokes or residue. So, when you are done sanding, always wipe down the surface with a clean cloth. It makes for a very professional looking end product that you are proud of.
Imperfections — such as ill-blend images, misaligned content or sloppy work — make your project look unprofessional and can be very annoying. The great news is that this is where a sandpaper roll comes in to assist you with correcting those imperfections as fast and as easily as possible. Pre-machine sanding versatile repair pads/spools are used to remove scratches, bumps, or imperfections from nearly any surface. Begin with a coarse grit sandpaper and advance through to finer grits until your surface is silky smooth. Sandpaper roll or sandpaper cloth will make this task easy.

 EN
EN
 AR
AR BG
BG HR
HR CS
CS DA
DA NL
NL FI
FI FR
FR DE
DE EL
EL HI
HI IT
IT JA
JA KO
KO NO
NO PL
PL PT
PT RO
RO RU
RU ES
ES SV
SV TL
TL IW
IW ID
ID SR
SR ET
ET MT
MT TH
TH TR
TR FA
FA AF
AF MS
MS GA
GA CY
CY MK
MK EU
EU KA
KA LA
LA NE
NE